How to: Penny Tile Floor

Awhile back – actually way before any concrete plans for this renovation materialized –  I came across these pictures of penny-tile floors and thought – that might be cool thing to do at some point somewhere in the house. Sergey was totally on board. In fact, I think he actually sent me a picture of the penny time floor for inspiration. It’s not that often that we agree on a particular project or look from the very beginning so this idea was definitely filed in the “for sure, maybe” file.… Read the rest
Construction days: 66-67

A quick note with a few minor but important details. First up the tile. The reason its not done yet? well apparently, our historically correct, unglazed tile floors did not take too well to grout. As in it refused to come off once dry. Typically the grout is supposed to be spread liberally and then excess wiped off. Well I am sure our contractors were not pleased when they realized this wasn’t correct.… Read the rest

Construction days: 58-65

I guess the tile floor is another one of those super time consuming projects? A week and a half in of work (not by us, by the contractors) the kitchen floor is nearly complete. I really love the tiles and the dark grout, which together have come out looking quite nicely.

Here’s last 8 work days, or so – first up, Mr Otto enjoying the new tiles (actually this is his look for can I please go outside now?!)… Read the rest

Color – Reds! Blues! and Greens!

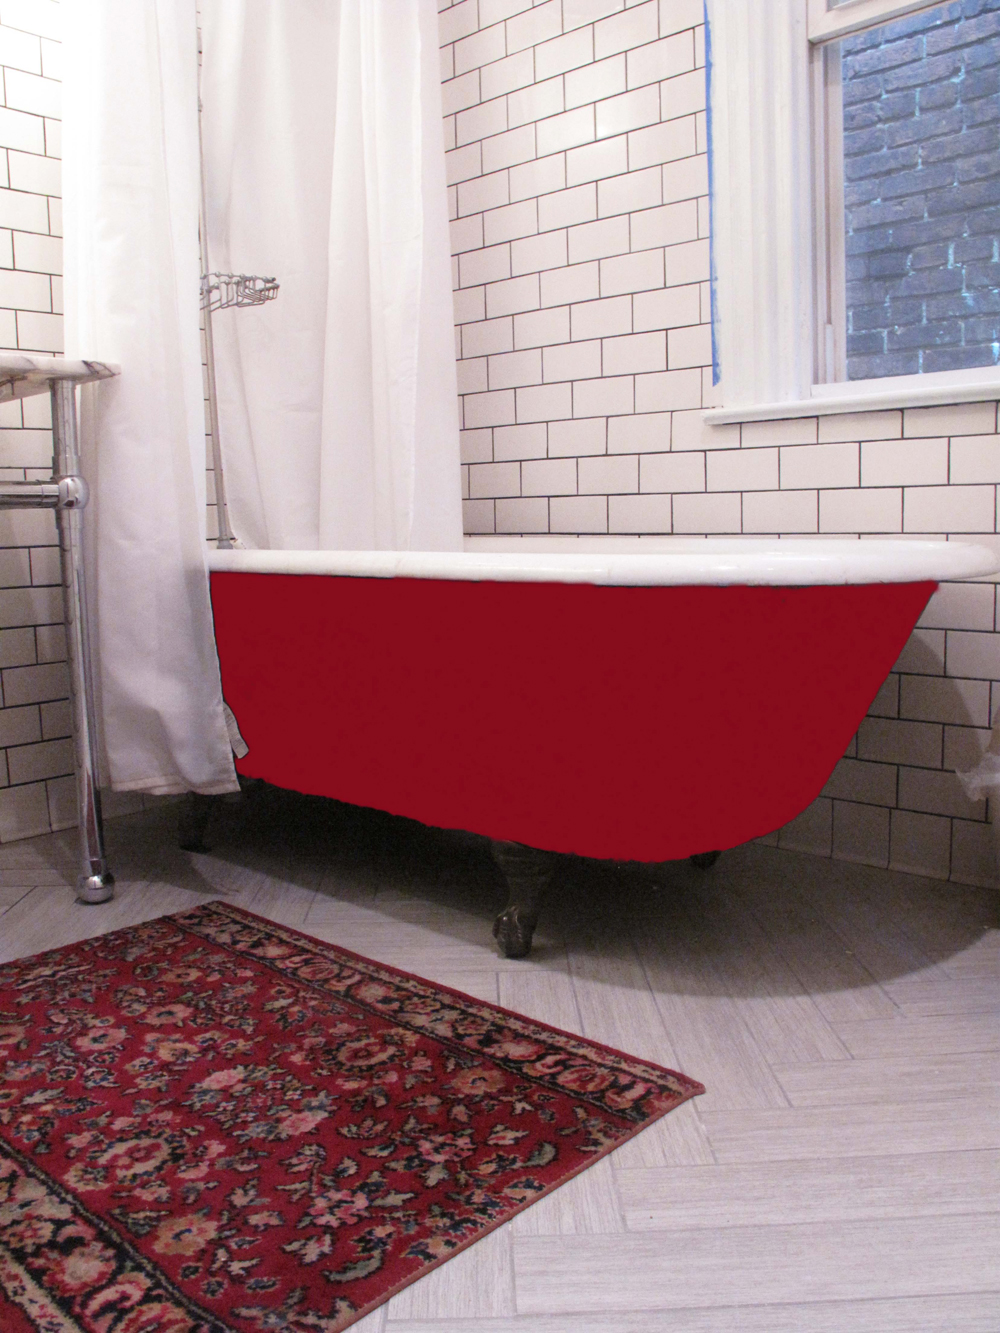
Its gonna be awesome. And this black and white and gray bathroom is really going to shine with some color love. First up – our bath mat. i heart it so much.

Yes, a real wool, oriental rug remnant. picked up at Ruff & Ready for $5. I got it a few weeks ago, and we have been using it as a regular bath mat, and so far its worked really well, it feels comfy and dries fast.… Read the rest

Kitchen furniture pieces

A little update on our cabinets and island piece. Past weekend, we had some help from our friend Zach (thank you!) which was essential to putting together our Ikea pantry unit, since Sergey’s only got one useful hand as of two weeks ago.

Meanwhile, I played around with various finishes for our kitchen island counter top. I don’t think that we will be using it as a butcher block. I prefer using cutting boards for ease of clean up, and plus the joists are probably pine, which is a soft wood that wouldn’t take that well to constant cutting and chopping.… Read the rest

How to: Reclaimed Wood Counter (part I)

When we took the house apart, our friends had suggested that we keep the old wood joists for all sorts of salvage projects. Such as a table.Or a kitchen island top. Brilliant, thank you friends! Reclaimed wood has become rather fashionable as of late, which gives me a bit of a pause in using it on such a focal piece in the kitchen. Reclaimed wood is definitely a trend, and maybe even a fad, that won’t stay.… Read the rest

Construction Days 53-57

Its been very hectic around here, and not necessarily VIB related. Though the house always adds another layer to whatever else you have going on. Anywho, its been five working days since our last construction update, and what have we got to show for it? That’s what:

the beginnings of our finished tile floors! but before we get to this point, this also took place:

yes, the entire kitchen as well as half bath will have heated floors.… Read the rest

Fashion is Cyclical & New is Old

Bottom line on stripping original wood moldings in a 1897 house? New looks old. And by that I mean that after a process of stripping, sanding, priming and painting, the refurbished moldings (aka new) don’t look that much better than the old ones. Probably because I don’t have enough patience, and also because I just can’t seem to commit the hours it would take to do it right. So here’s before and after, and you can skip reading any more (unless you would like to find out about the fashion bit).… Read the rest